
How to make instant reports on the Koha home page in an exquisite menu.
26 janvier 2023 à 11:24
This article shows how to prepare the reports we need on the koha home page, such as koha circulation reports, catalog reports, account reports, library membership reports and etc as instant reports, with an exquisite menu.
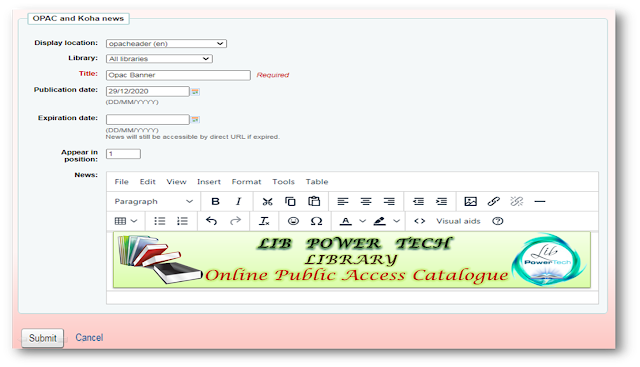
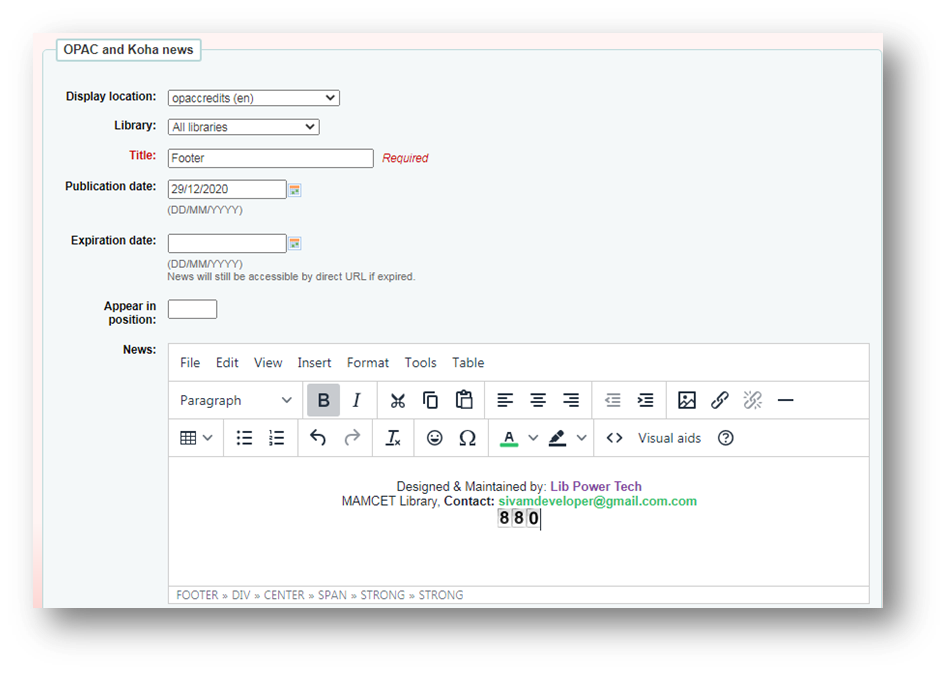
Go to: Koha Home/Tools/HTML customizations and Click New Entry, as shown in the image below.

Display Location Select for Librarian Interface and fill in all details.

Click the Source Code.

Copy and paste the below source code and change your library reports link, finally change all report links and save the source code.
<div class="dropdown"><button class=" btn btn-danger btn-sm btn-block" p="" style="font-size: 16px;" type="button" id="dropdownMenuButton" data-toggle="dropdown" aria-haspopup="true" aria-expanded="false"><strong> 📚 Catalog Report </strong><b class="caret"></b></button>
<ol class="dropdown-menu" p="" style="font-size: 14px;">
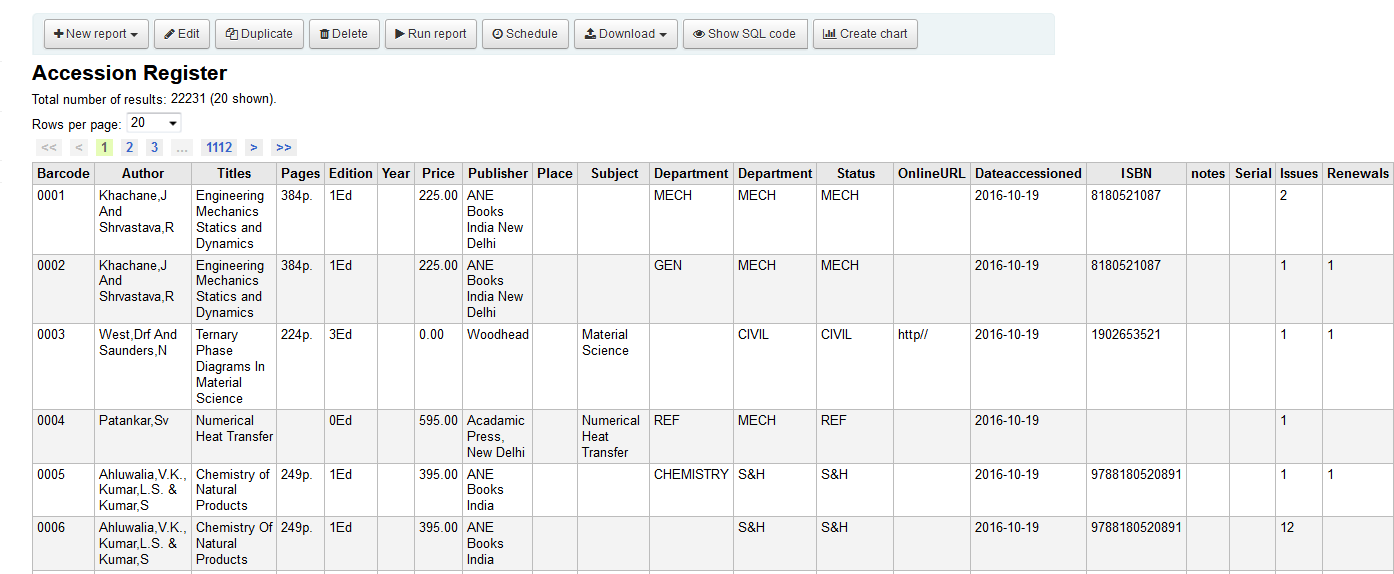
<li><a href="/cgi-bin/koha/reports/guided_reports.pl?reports=1&phase=Run%20this%20report">Accession Register</a></li>
<li><a href="/cgi-bin/koha/reports/guided_reports.pl?reports=12&phase=Run%20this%20report">Total Number of Books</a></li>
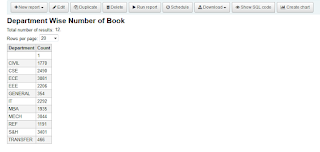
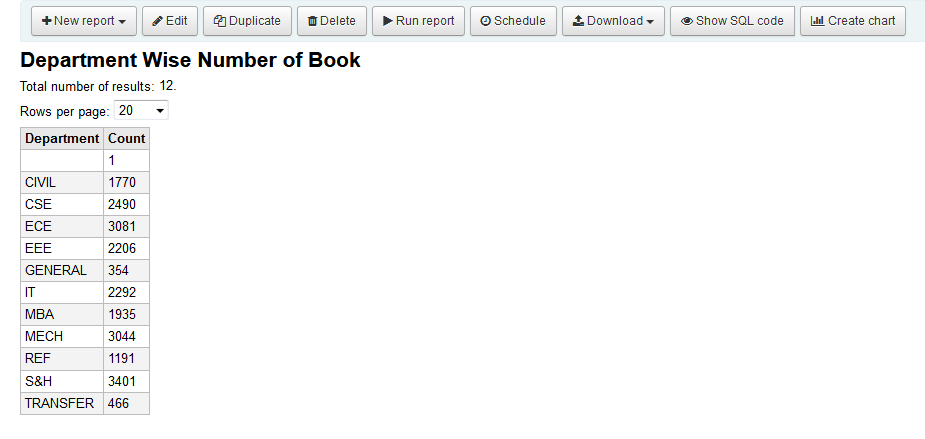
<li><a href="/cgi-bin/koha/reports/guided_reports.pl?reports=33&phase=Run%20this%20report">Department Wise Number of Books</a></li>
<li><a href="/cgi-bin/koha/reports/guided_reports.pl?reports=34&phase=Run%20this%20report">Collection Wise Number of Books</a></li>
<li><a href="/cgi-bin/koha/reports/guided_reports.pl?reports=15&phase=Run%20this%20report">Item Type Wise Number of Books</a></li>
</ol>
</div>
<div class="dropdown"><button class=" btn btn-danger btn-sm btn-block" p="" style="font-size: 16px;" type="button" id="dropdownMenuButton" data-toggle="dropdown" aria-haspopup="true" aria-expanded="false"><strong>💻Circulation Report </strong><b class="caret"></b></button>
<ol class="dropdown-menu" p="" style="font-size: 14px;">
<li><a href="/cgi-bin/koha/reports/guided_reports.pl?reports=13&phase=Run%20this%20report">Check Out List of Books (Date wise)</a></li>
<li><a href="/cgi-bin/koha/reports/guided_reports.pl?reports=7&phase=Run%20this%20report">Check in List of Books (Date wise)</a></li>
<li><a href="/cgi-bin/koha/reports/guided_reports.pl?reports=30&phase=Run%20this%20report">Item Type Wise (Check Out Books)</a></li>
<li><a href="/cgi-bin/koha/reports/guided_reports.pl?reports=24&phase=Run%20this%20report">Circulation Daily Transaction</a></li>
<li><a href="/cgi-bin/koha/reports/guided_reports.pl?reports=44&phase=Run%20this%20report">Date wise Circulation Activity</a></li>
<li><a href="/cgi-bin/koha/reports/guided_reports.pl?reports=20&phase=Run%20this%20report">Month Wise Circulation Report</a></li>
<li><a href="/cgi-bin/koha/reports/guided_reports.pl?reports=9&phase=Run%20this%20report">Overdues Book List</a></li>
</ol>
</div>
<div class="dropdown"><button class=" btn btn-danger btn-sm btn-block" p="" style="font-size: 16px;" type="button" id="dropdownMenuButton" data-toggle="dropdown" aria-haspopup="true" aria-expanded="false"><strong>💰 Accounts Report </strong><b class="caret"></b></button>
<ol class="dropdown-menu" p="" style="font-size: 14px;">
<li><a href="/cgi-bin/koha/reports/guided_reports.pl?reports=5&phase=Run%20this%20report">Paid Fine for Students</a></li>
<li><a href="/cgi-bin/koha/reports/guided_reports.pl?reports=14&phase=Run%20this%20report">Writeoff Fine for Students</a></li>
<li><a href="/cgi-bin/koha/reports/guided_reports.pl?reports=16&phase=Run%20this%20report">Accounting Type Wise Collection</a></li>
<li><a href="/cgi-bin/koha/reports/guided_reports.pl?reports=17&phase=Run%20this%20report">Students Fine Arrears Details</a></li>
</ol>
</div>
<div class="dropdown"><button class=" btn btn-danger btn-sm btn-block" p="" style="font-size: 16px;" type="button" id="dropdownMenuButton" data-toggle="dropdown" aria-haspopup="true" aria-expanded="false"><strong>👩‍🎓 Library Membership Report </strong><b class="caret"></b></button>
<ol class="dropdown-menu" p="" style="font-size: 14px;">
<li><a href="/cgi-bin/koha/reports/guided_reports.pl?reports=11&phase=Run%20this%20report">Membership Staff & Students</a></li>
<li><a href="/cgi-bin/koha/reports/guided_reports.pl?phase=Use%20saved">More Library Reports</a></li>
</ol>
</div>
<div><br /><br /><br /><br /><br /><br /><br /><br /></div>Go to Koha Home Page and your exquisite instant koha reports menu is ready.
 Reference: https://getbootstrap.com/docs/4.0/components/buttons/#sizes


